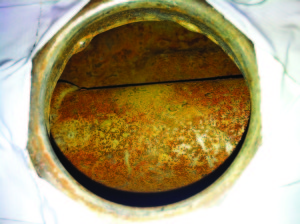
Water is everywhere, even one of the main byproducts of combustion, yet it’s also the enemy of virtually every component on your motorcycle. The bare-metal interiors of steel fuel tanks are especially susceptible to moisture in the air and water absorbed by oxygenated fuels.
Once a tank rusts inside, flakes and particles can get into your bike’s fuel system and wreak havoc. So it’s best to prevent the rust in the first place by keeping that steel tank full during storage and using a fuel stabilizer. If you should pop the filler cap and find some nasty red stuff inside, however, all is not lost. You can certainly clean the tank out as much as possible, install a filter in the fuel line and forget about it (until the filter clogs), or pony up the green for a new tank. When neither of those options is satisfactory, though, a savvy do-it-yourselfer can coat and seal the inside of the tank with a product like POR-15. The sealer included in the POR-15 kit chemically bonds with the metal, stops further rusting and is said to be resistant to all fuels, alcohols and additives—like painting a new tank inside the old one. Up to a point it will even seal pinholes and cracked seams, and unlike another off-white product the light gray color of the POR-15 sealer looks a lot like the original bare metal.

Using the POR-15 kit is not to be taken lightly, especially on rare or expensive tanks. It’s an all-day job, too, even after you get the tank off the bike and have removed the petcock, fittings, float, etc. At the dilution levels for this process the cleaning and rust-removing chemicals used to prep the tank will damage paint, so you must find a way to completely seal the openings, since you’re going to roll the tank around in your hands after adding the solutions/ sealer. Despite your best efforts to mask and otherwise protect the tank’s finish, if there are any leaks this stuff will find a way to eat your paint. In my experience it’s better to achieve a perfect seal and be ready to quickly wipe up any errant drops than to count upon a masking job to protect the tank. Of course, if the tank’s going to be repainted, a little leakage won’t matter. Just do any dent repair and bodywork needed beforehand to prevent damage to the new coating inside.
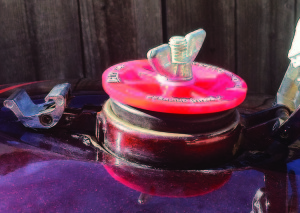
Following the instruction sheet and those on the containers (each has separate but important details), I started by dissolving the gum and varnish deposits in my rusty ’70s-era steel tank with the POR-15 kit’s Marine Clean product, diluted at 1:1 with hot water. Next came the Prep & Ready rust remover, which did an amazing job of stripping a lot of the rust and scale in the tank (I drained both cleaning products into a gallon jug destined for the local Haz-Mat facility). Soaking and rolling the tank with both cleaners, rinsing and thoroughly drying the inside (you’ll need a blow dryer or heat gun) to prep it for the sealer took the better part of a day…and lots of water.

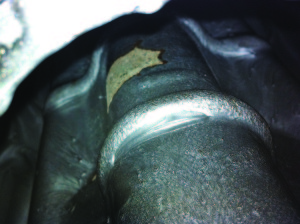
Then it was time to pour in the 8-ounce can of sealer and roll it around until the inside of the tank was completely coated. I used an inspection
mirror, flashlight and even a smartphone camera to look down inside the filler cap and insure the job was done. The last step is to drain the unused sealer back in to the can, let it dry overnight and throw it out.
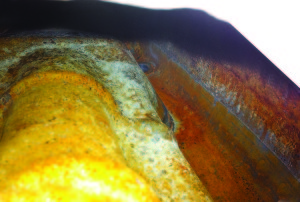
After four days of sealer curing time my tank was ready for reinstallation and gasoline, its formerly rusty, crusty interior a clean, even shade of gray that will resist corrosion for years to come. Now all I need to do is rebuild the engine in the bike it goes on….
For more information: The POR-15 Cycle Fuel Tank Repair Kit retails for $42.50.
For more information call (800) 457-6715 or see www.por15.com.


Then it was time to pour in the 8-ounce can of sealer and roll it around until the inside of the tank was completely coated. I used an inspection
You didnt clean that out very well. ln future, you may want to roll some washers or a chain around in the tank, that will get rid of that horrible contaminated finish that you achieved
How is that tank now? Still holding up 2018?